


CNC table
If you recall, an earlier post gave a brief overview of the CNC machine I have on order… while I’m passing time waiting on it’s arrival (getting much closer - looks like early to mid-November) one item of “prep” on the list is building the table for it to sit on.
A 48”x48” cutting area equates to nearly a 60”x60” (at least) machine footprint. Plus then you need a bit of space around it to lay down the inevitable tool, tape measure, whatever. This thing isn’t as small as it sounds in your head (or at least its not as small as it seemed in my head). Glad I have a large shop - it would totally overwhelm my old garage space at the old house.
There are quite a few designs, ideas and ways to go about building a support for this unit.
You can buy a set of “legs” from the manufacturer:

Aside from the added cost, I didn’t really like the design and felt I could do better with what I had available here.
Many folks are using the Kreg Tools Bench leg set with a custom top. Seems to work well for most folks, although it seems to require some “stiffening” if you don’t want a lot of rocking as the machine moves (which can impact carve/cut quality).
So… I of course went my own way :-)
Requirements
Size (big enough for the machine)
Rigidity (not going to sag or rock too much)
Flatness (needs to be reasonably flat - you can deal with some variance by grinding the spoilboard, but the closer you can get, the better)
Mobility (well, that’s a nice to have, not a hard requirement)
The capability to add vertical workholding and/or a rotary attachment in the future (more about this below)
Solution
Cut up my workbench.
Not really… but kind of. At my previous house I had built and used a Ron Paulk Workbench out of MDO (no, not MDF). MDO is “Medium Density Overlay” - a high quality plywood often used for signmaking. Also sometimes used for concrete forms or (in my instance) boatbuilding. The boatbuilding had to go by the wayside in the past, but had some leftover plywood and had used it to build the bench.
It’s a 7” think “torsion box” design with two 2’ x 8’ boxes that you place on sawhorse style legs. Worked great, but in my new setup, it was just stored and taking space anyhow.
So, I took the two sections and cut 2’ off the ends.
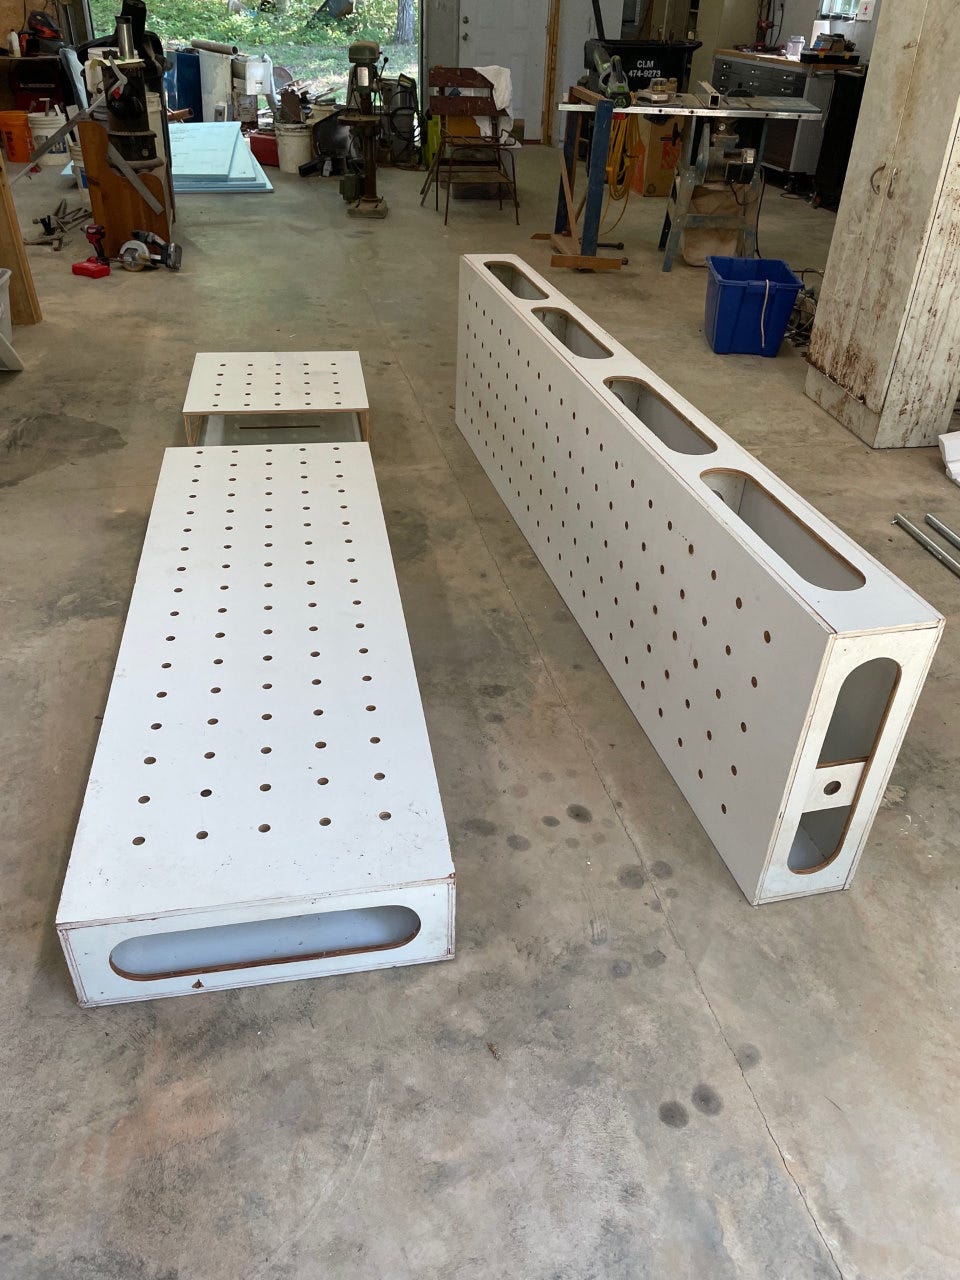

Using the offcuts and adding a couple of extra web pieces, I filled in and made a 6’ x 6’ table (plenty big for my use) with a hold in it.

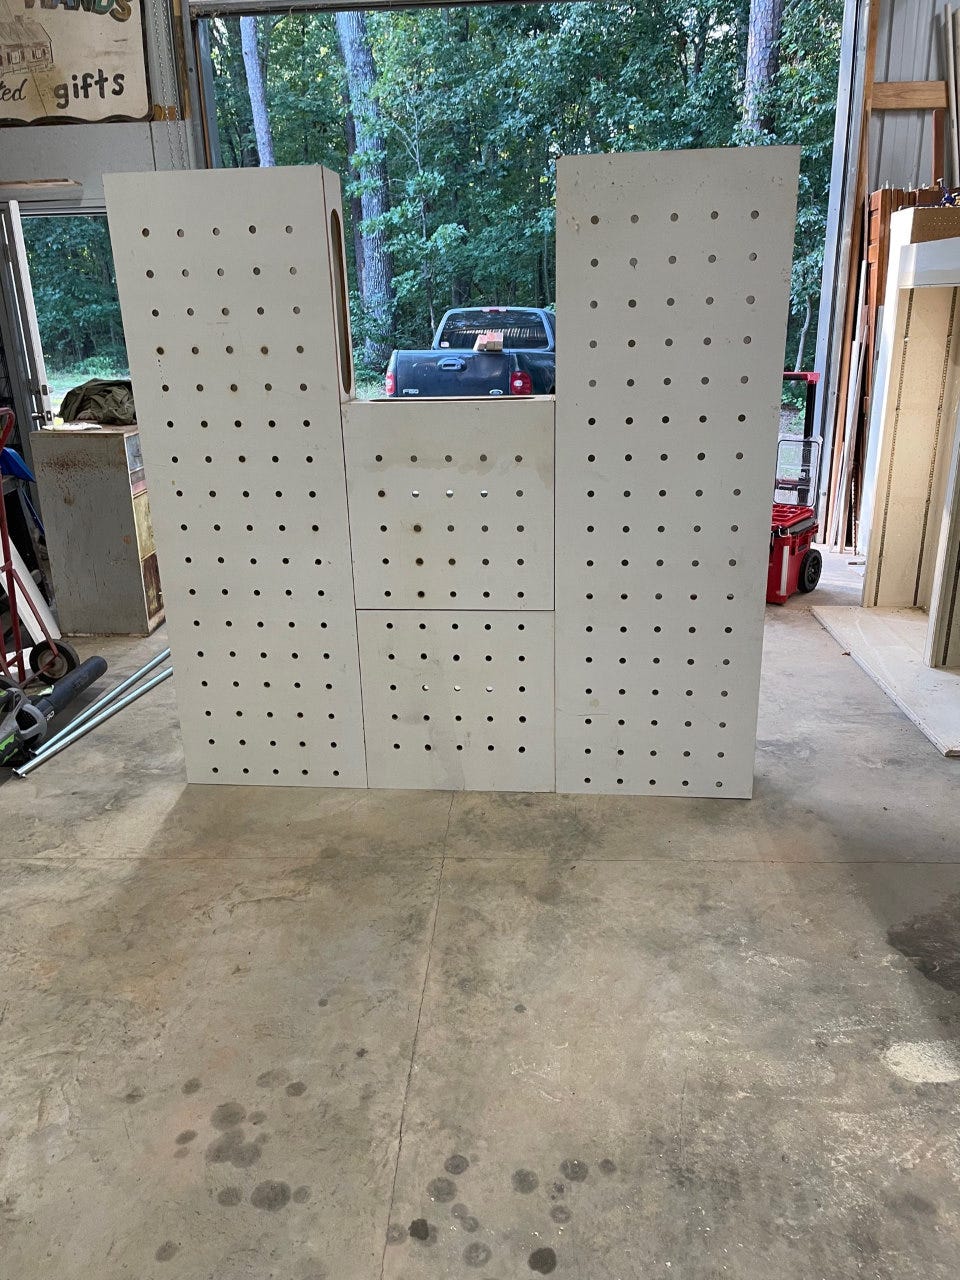
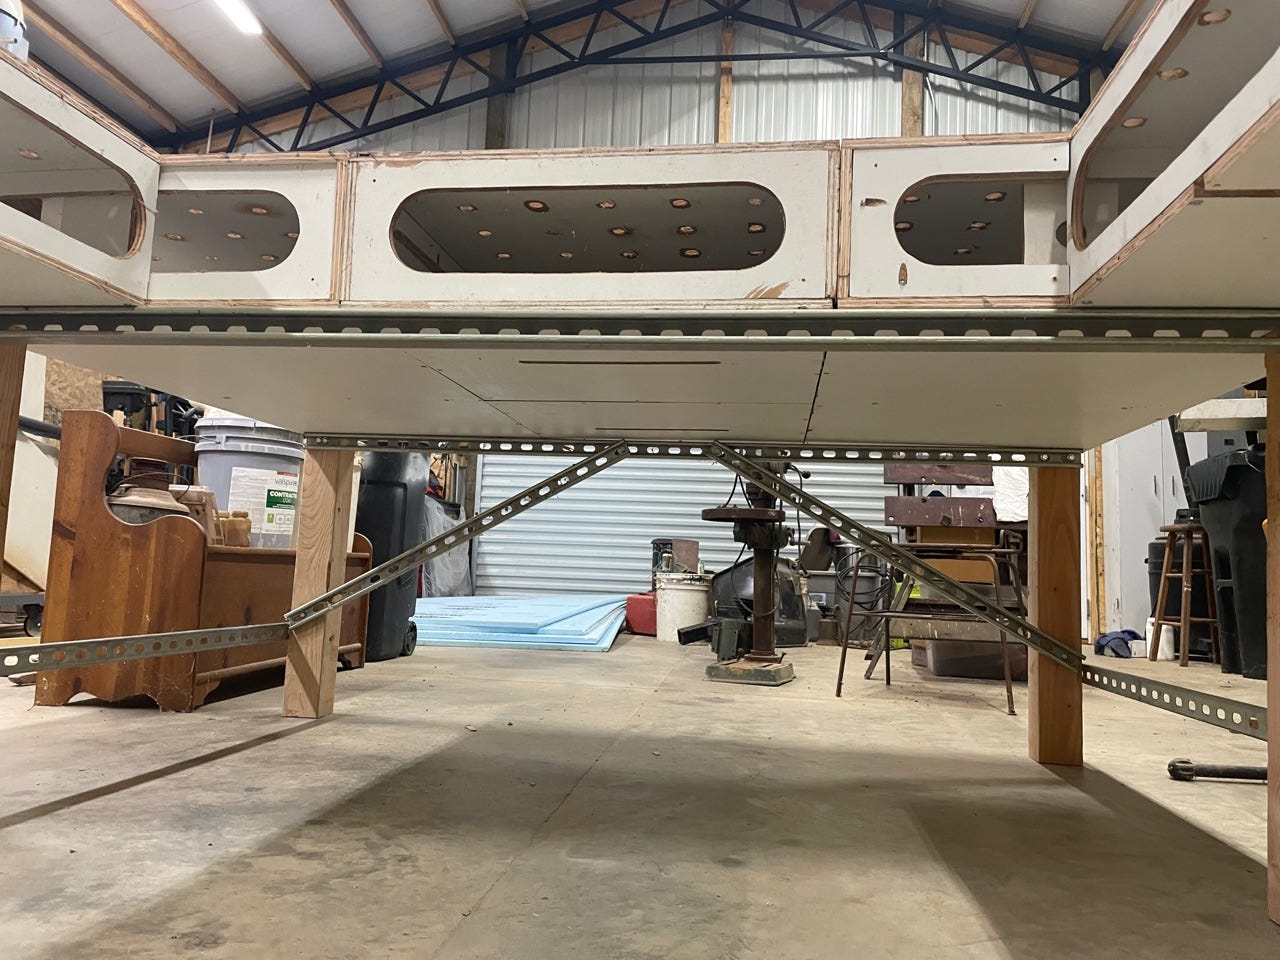
A bit of cutting to open up the “slot”, some added legs and Unistrut that I had for bracing and we have quite a table.
I figure I’ll not only have room around the machine to lay stuff, but I can actually use the workbench design of having places in the “openings” to lay the occasional tool or run wires or whatever.
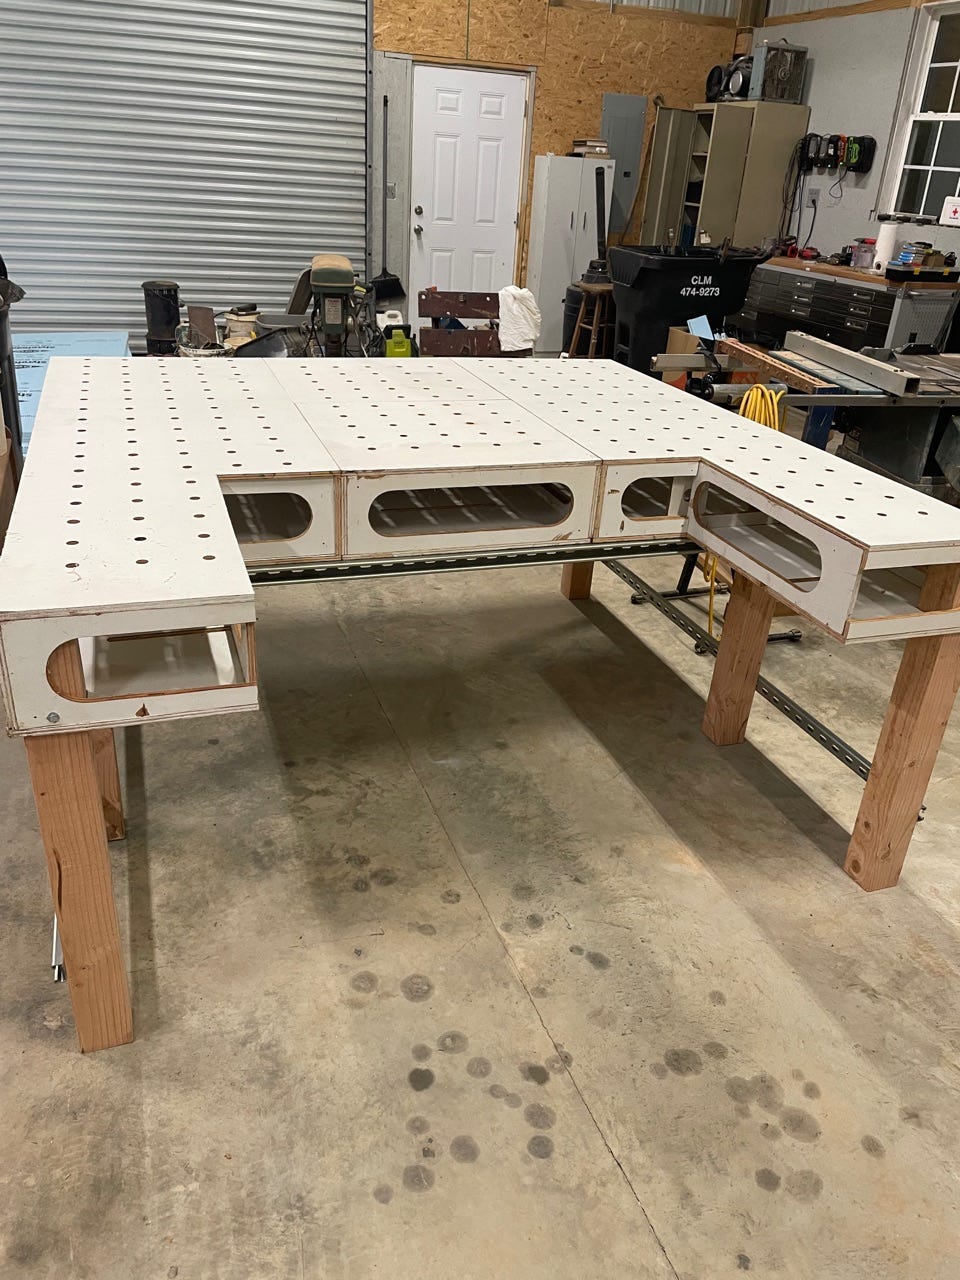
Now, about that notch.
Most CNC work is on the flat plane - you fasten the workpiece down (more to come on workholding) and cut/carve on the large, flat side. But if you want to do something like dovetails then you need to mount the workpiece vertically so that the router can move “across” the end of the piece. Having a “notch” allows for a vertical workholding solution to be put in that area.
Alternatively, a 4th axis rotary mount (for doing “round” carving work) can be mounted in a similar slot.
My intention is to make a “filler” section and that area will normally be filled in and the top be continuous. When I want to have something vertical then I can remove the section and have plenty of room to mount things well within the machines work area.
All-in-all it came out very sturdy, doesn’t seem to have much shake to it and is surprisingly flat (one little “high spot” that I may have to tweak on, but otherwise seems good).
Hopefully this all pans out as well in real life as in my head :-)